Setting up the Easy Catalog Xml Export
Create easy catalog export job
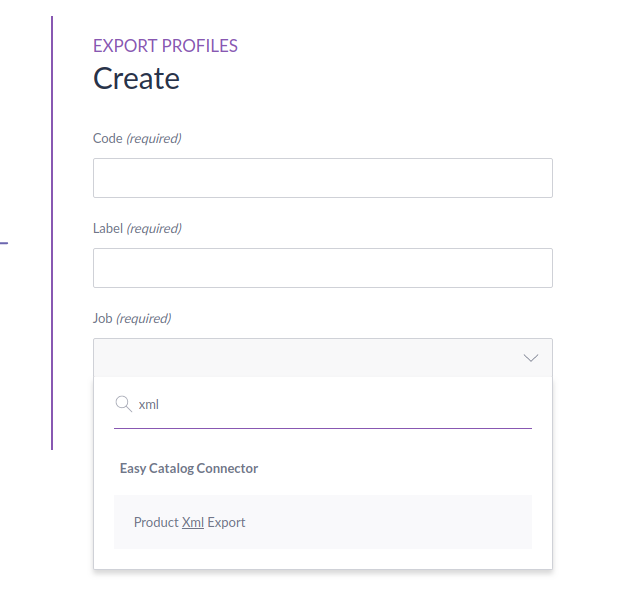
Go to the export tab in akeneo and click on the create export profile button.

Choose the Product XML Export under the Easy Catalog Connector and give it a suitable code and label. Click on save.
Set the Global Settings
In the globals settings you can set your export filename, it is important that you leave the extension .csv The export creates this file first and later on converts it into an xml. This will happen automaticaly, but if the original extension is not csv the export will fail.

Set content Settings
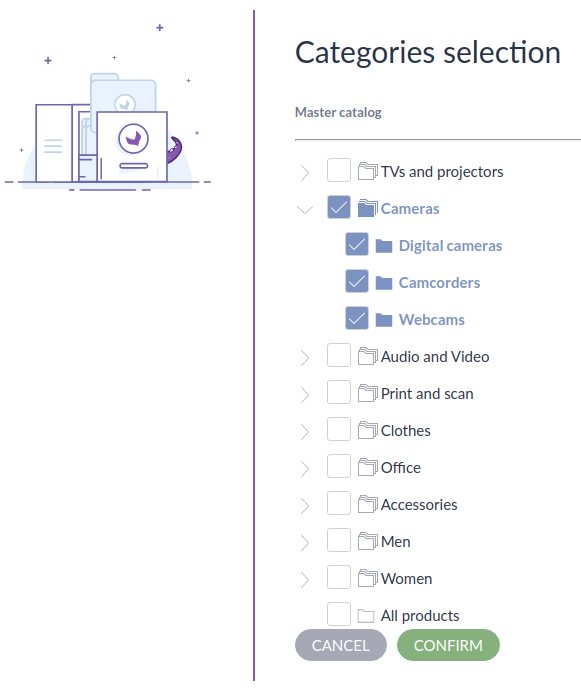
It is very important to know that the easy catalog export is designed to be used by category. Selecting multiple categories will not break the export but will result in an unusable xml for easy catalog. So make sure you select only 1 catagory in the category field to export all products from this category, if you want to export also the products of children categories select the child categories also as seen in the example.
You can set the other values like any normal product export.
Set Export Entities Settings
The easy catalog export extends on the mapping export, this way mapping can happen to the csv before it is converted to xml.
Make sure that in the export entities product is always selected. Otherwise the export will fail. If you are doing this export without any mapping, only selecting product is enough, the other entites are used only when mapping configuration is given also.

For more information over the mapping bundle: MappingBundle
Triggering the Easy Catalog Export from the UI
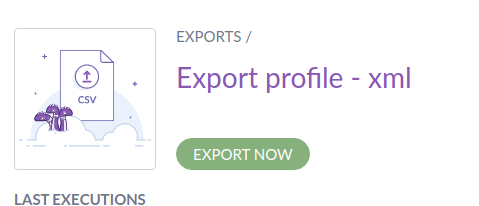
The Easy Catalog export can be triggered from inside the UI just like any other export job. Click on the easy catalog export inside the job list.

To start the export just click on the export now button.
Export output
The Easy Catalog will show all the steps being executed, after exporting all the csv it will execute a mapping step, when this is done a last csv to xml conversion step will be executed.
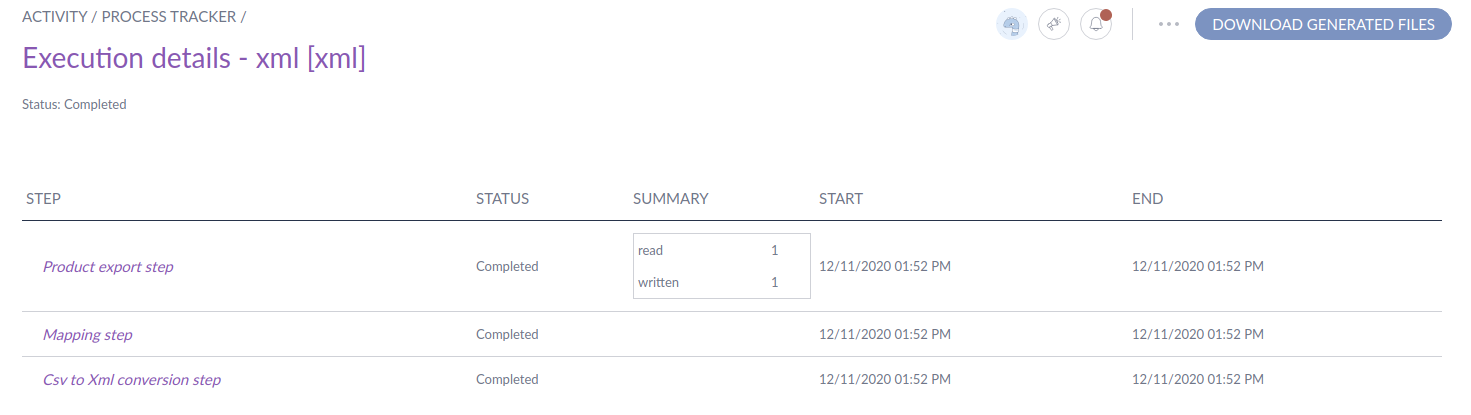
When you click on the download generated files button, you will be prompted to donwload your export xml file.

Get the Easy Catalog Export Api Endpoint using the jobInstanceCode
The easy catalog plugin needs an api endpoint that points to the correct xml, we created an endpoint just for that. This api endpoint will return the latest export file created by the given job instance code. If the export given was never triggered before, an error will be returned. The idea is to setup cronjobs to keep these export files up to date.
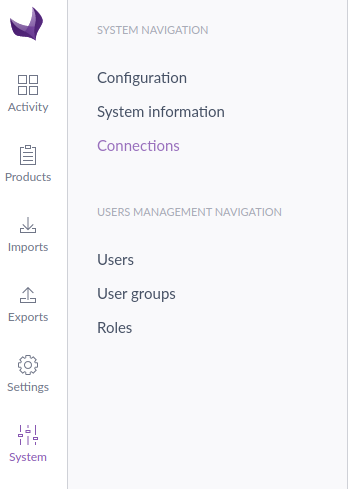
Setting up a connection
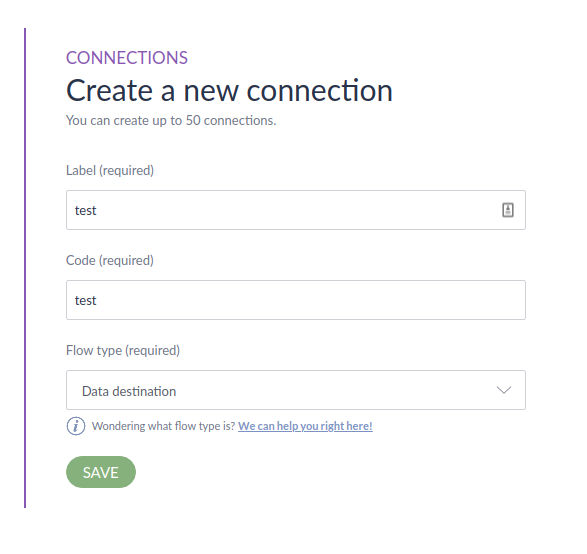
Go to the system tab and sub tab connections. Click on the create new button to create a new connection. The connection we are creating is necessary as we need to use it for the api trigger.
Give your connection a code, label and select Data destination as flow type. Click save. Thats it, all we need now for out api trigger is the code of this connection.
Api Endpoint
/api/rest/induxx/EC/v1/products/{connectionCode}/{jobInstanceCode}
Replace connectionCode with the code of your connection we created earlier, replace jobInstanceCode with the code of the product xml export job we created earlier. You can test the url in your browser, if you get an xml as return, your api call was succesfull. If an invalid connectionCode or jobInstanceCode is given, you wel get an error.
You can enter this api endpoint int the easy catalog plugin configuration and this way the xml will be loaded into in design.
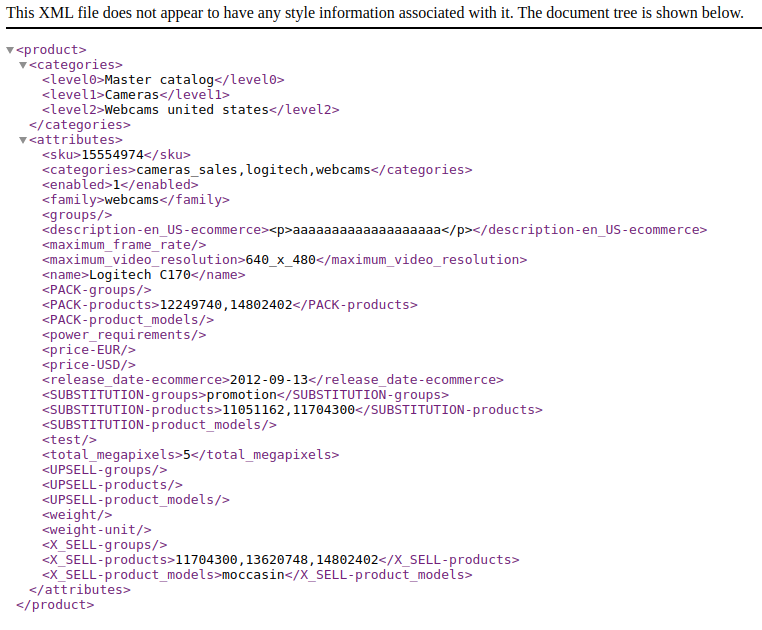
Here is an example of a basic xml output
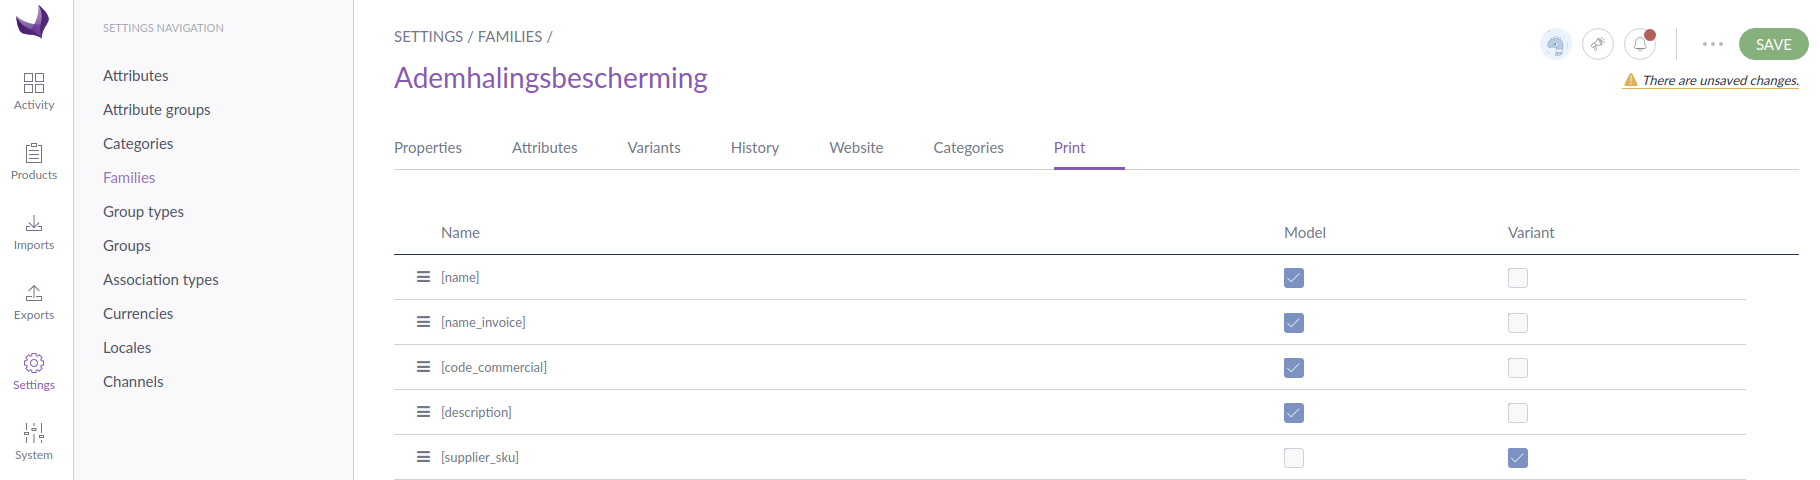
Family Attributes Print Tab - defining model and variant attributes
Under the Settings - Families tab there is now e new tab called print. **
**This tab shows a list of all attributes connected to the selected family, you can change the order and check checkboxes to define them as model attributes or variant attributes. When the easy catalog xml is created every product will have a list with al its attributes, but if models or variants are defined, they will also have seperate lists with only the chosen attributes. This way it easy to create tables inside indesign with main attributes of a global product and seperate tables for the variant attributes wich will be different.